Content
- 1 General description of the cotoneaster
- 2 The use of a cotoneaster in landscape design
- 3 Are cotoneaster berries edible or not?
- 4 Planting and caring for a cotoneaster outdoors
- 4.1 Site selection and soil preparation
- 4.2 Planting a cotoneaster
- 4.3 What can be planted next to the cotoneaster
- 4.4 Growing and caring for a cotoneaster
- 4.5 How to water a cotoneaster
- 4.6 Top dressing of the cotoneaster
- 4.7 Cotoneaster pruning
- 4.8 Preparing the cotoneaster for winter
- 4.9 Diseases and pests of the cotoneaster
- 5 How to propagate a cotoneaster
- 6 Conclusion
Cotoneaster is an evergreen or deciduous shrub used in landscaping. Some species of this plant have edible fruits, but most of them are planted for decorative purposes only. Due to its undemanding growing conditions, longevity, ease of cultivation and attractive appearance, the shrub is widely used to decorate gardens, park areas, as well as to strengthen bulk soil.
General description of the cotoneaster
Translated from Latin, the name of this shrub means "resembling a quince." Indeed, the leaves of some of its species bear a certain resemblance to the fruits of this tree. The shrub is widespread not only in Eurasia, it is also found in North Africa.
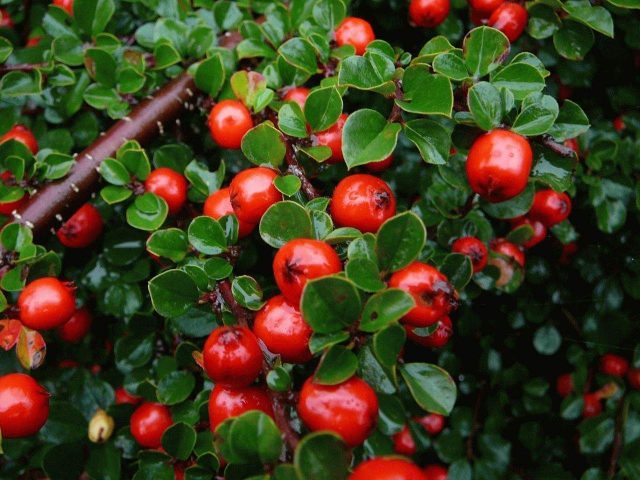
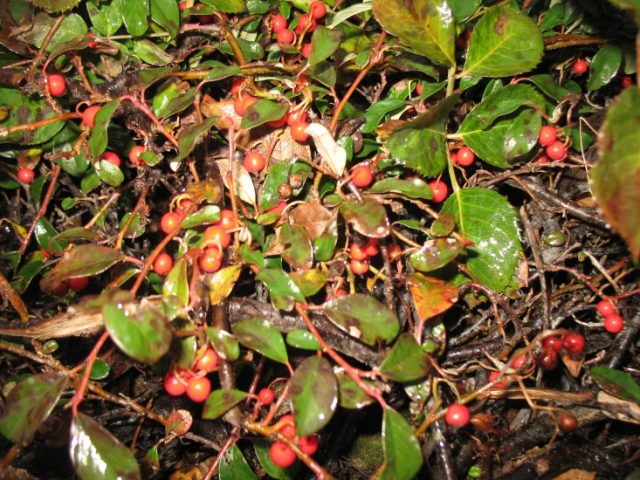
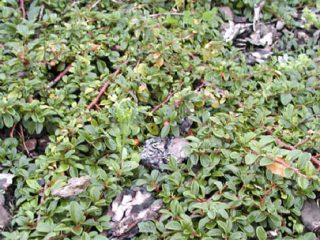
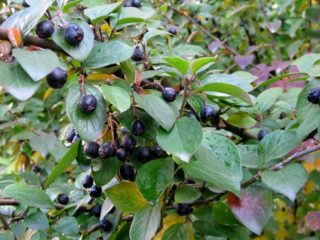
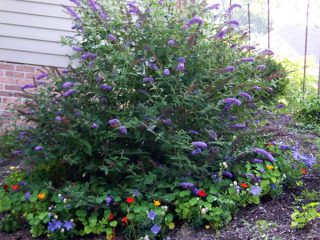
Cotoneaster (pictured) is a low, spreading or creeping thornless shrub. In favorable conditions, its life can reach 50 years. It grows rather slowly, adding only a few centimeters per year. Leaves are small, green, usually shiny, turn red in autumn (in deciduous species). Flowers are small, solitary or clustered in carpal inflorescences, white or pink. Its fruits are small apples, most often inedible, red, less often black.
More than 200 types of cotoneaster are described in the scientific literature. Here are just a few of them:
- Common cotoneaster.
- The cotoneaster is brilliant.
- Black cotoneaster.
- Dammer's cotoneaster and others.
The use of a cotoneaster in landscape design
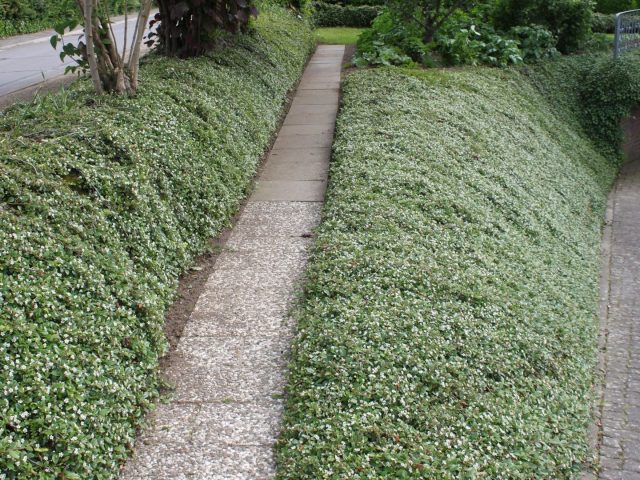
The cotoneaster shrub is very unpretentious. It easily tolerates gas pollution, grows well on any soil, and is resistant to frost and drought. Most often it is used to decorate hedges, alleys, parks, and alpine slides. The root system of this plant is very close to the surface, therefore, creeping species of this shrub are often planted on artificial embankments, solving the problem of strengthening the soil, and at the same time for decorating the slopes.
In total, more than 80 species of this beautiful plant are used in landscape design. Among them there are erect, and bushy, and creeping species. Therefore, the scope of application of the cotoneaster for decorative purposes is very wide.
Are cotoneaster berries edible or not?
Most cotoneaster species have inedible fruits. You can eat only black cotoneaster. They do not differ in any special taste and are often used to prepare decoctions for the treatment of the stomach. Dried aronia cotoneaster fruits are often added to tea, since they contain quite a lot of vitamins. They can be used as a tinting agent in the production of homemade tinctures or liqueurs.
Planting and caring for a cotoneaster outdoors
Growing this ornamental shrub is usually not a hassle.It is planted with one-year or two-year seedlings. The best time for this is spring, the period before the beginning of the growing season, or autumn, after the end of the leaf fall.
Site selection and soil preparation
This ornamental shrub does not make any special demands on the place of growth and the nature of the soil. It is desirable that the place is sunny, then all its decorative properties will be fully manifested. Bushes are planted in single pits about half a meter deep. If a hedge is created from a cotoneaster, planting is carried out in a ditch of the same depth. A drainage layer of broken brick or crushed stone is laid on the bottom, on top of which a layer of nutrient soil is poured from a mixture of turf soil, humus and peat in a ratio of 2: 1: 1.
Planting a cotoneaster
The seedlings are placed vertically and covered with a layer of soil, periodically compacting it. The plant is buried to the level of the root collar, which should be at ground level. After planting, the root zone must be watered abundantly.
A video about planting a cotoneaster can be viewed at the link below.
What can be planted next to the cotoneaster
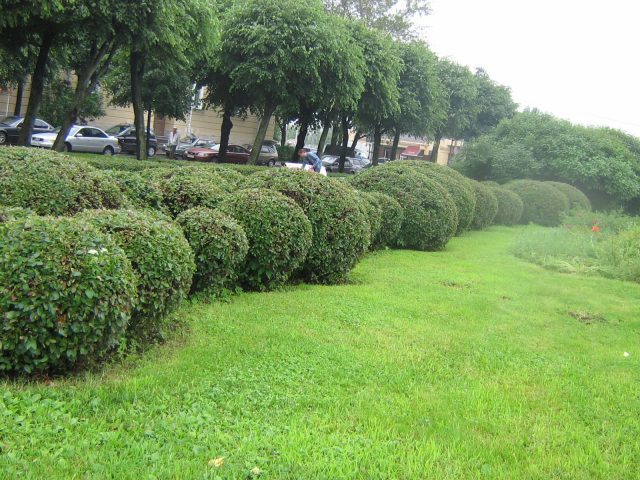
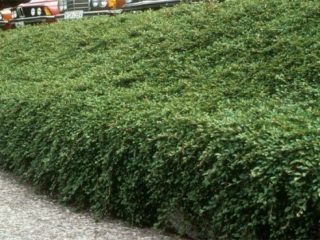
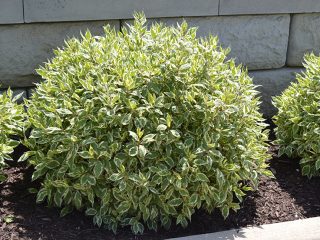
This plant is not an antagonist and gets along well with all neighbors. It looks good next to low coniferous trees, flower beds can be placed next to it. Shrubs can be planted in groups or singly, shaping them with a haircut and using them as architectural accents. The photo below is a cotoneaster hedge.
Shale species are often used as artificial turf, hiding the unevenness of the relief under it.
Growing and caring for a cotoneaster
Caring for the planted cotoneaster will not be difficult. Often, the only activity that is carried out with a shrub is shearing or pruning it to maintain its decorative shape.
How to water a cotoneaster
For normal development and growth of plants, precipitation is usually sufficient. The bushes are usually watered with a hose or a sprinkler to wash the dust off the leaves. Especially it concerns busheslocated along busy streets. If the summer is very dry, abundant watering can be done once a month.
Top dressing of the cotoneaster
Most gardeners consider feeding the cotoneaster optional. However, when grown in poor soils, it is worth feeding the shrubs at least once a season. It is best to do this in the spring by adding a urea solution (25 g per 10 l of water) to the root zone, and later, before flowering, superphosphate and any potassium fertilizer (60 and 15 g per 1 square meter, respectively). In autumn, the root zone is mulched with peat, which also serves as a kind of top dressing.
Cotoneaster pruning
For sanitary and anti-aging purposes, the cotoneaster is pruned in the spring, before the beginning of the growing season. The shrub tolerates this procedure well and, as a rule, there are no problems after it.
You can trim the shrub for decorative purposes, cutting the crown in the form of various shapes, at any time of the year, except for winter.
Preparing the cotoneaster for winter
The cotoneaster is a frost-resistant plant and tolerates cold well. It is not necessary to carry out special preparation for winter, usually it is enough to simply mulch the root zone with a layer of peat 8-10 cm thick. In regions with significant frosts and lack of snow cover, it is recommended to bend the bushes to the ground and fix them in this position, and then throw them with fallen leaves.
Diseases and pests of the cotoneaster
Cotoneaster bushes are rarely affected by both pests and various diseases. The greatest danger to planting can be Fusarium - a fungus that develops in conditions of high humidity. They fight it by removing the affected parts of the plant, as well as spraying the shrub with systemic fungicides.
Among the pests on the cotoneaster most often appear:
- Aphid.
- Spider mite.
- Shield.
They fight pests by spraying the bushes with special preparations:
- Fitoverm.
- Karbofos.
- Decis.
- Aktelik.
Pest control can be done several times per season. The first time spraying is done after the buds have swollen, the second time after flowering and the third time after another two weeks. Such a measure is the exception rather than the rule. Pests appear on this plant rather infrequently, and in most cases, one treatment is quite enough.
How to propagate a cotoneaster
The cotoneaster reproduces well by all methods typical for shrubs. It can be multiplied:
- seeds;
- cuttings;
- layering;
- dividing the bush.
For varietal species of cotoneaster, grafting can be used.
Cuttings
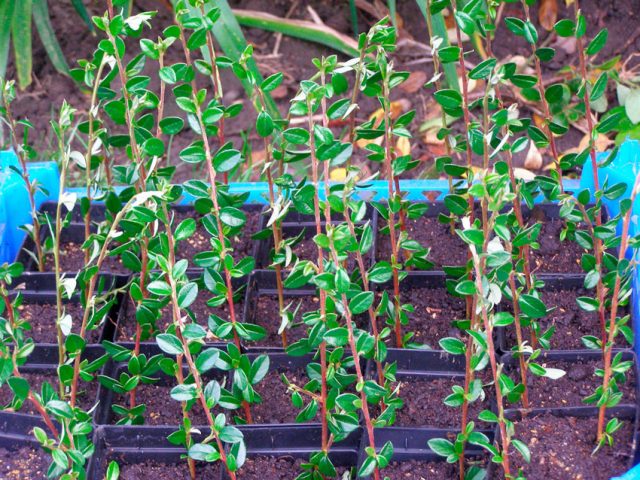
Propagation by cuttings is a simple and reliable way to get cotoneaster seedlings. This procedure is best done in late June - early July. For harvesting green cuttings, use the central part of the annual shoot. Cut cuttings are freed from the leaves by about 1/3, then they are kept in a solution of a root formation stimulator for 6 hours.
After that, they are planted at an angle in containers filled with a nutrient substrate - a mixture of peat and river sand. The container with the cuttings is watered and covered with foil, providing the cuttings with greenhouse conditions. Regularly, such a mini-greenhouse needs to be ventilated. Typically, the rooting rate of green cuttings planted in this way is very high. After a year, when the root system is sufficiently developed, the seedlings can be planted in a permanent place.
Layers
Layers from the mother bush, especially on creeping type shrubs, can form without human intervention. Often, branches in contact with the soil take root on their own.
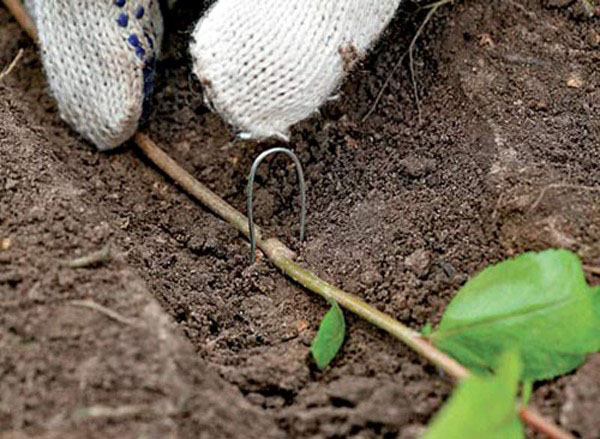
It is quite easy to obtain full-fledged layers artificially. To do this, the extreme shoots are simply fixed on the ground with an iron bracket and covered with humus on top. The soil in this place must be regularly moistened. After a few weeks, the pressed stem will develop roots and begin to form independent shoots. Then the layers are separated from the mother bush and transferred to the place of permanent planting.
Seeds
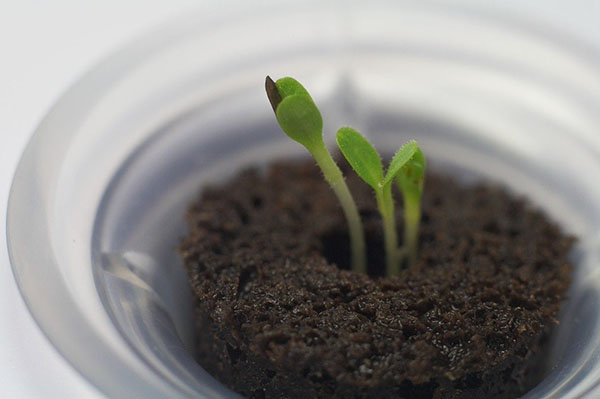
Seed propagation is a rather long method, and is usually used only by breeders engaged in breeding new varieties. Getting a seedling from a seed is not easy. The seeds of this plant are not distinguished by good germination, and the seedlings are weak and often die. It usually takes about 3-4 years to form full-fledged seedlings and transplant them to a permanent place.
The seeds are removed from the fruit, washed and sorted. At the initial stage, you can make culling by immersing them in water. Those that remain on the surface are empty, they are immediately discarded. Then the seeds are stratified. To do this, they are kept for two months at a temperature of + 30 ° C, and then slowly lower it to -5 ° C. The prepared seeds are sown in a nutritious soil in the fall, watered and placed under a film.
By dividing the bush
The method of dividing a bush is simple and effective. It is used during transplantation of mature bushes or in the event that the bush has grown strongly. In this case, part of the root, together with the shoots, is cut off from the main rhizome and transplanted to another place. This procedure can be carried out both in the spring, before the beginning of the growing season, and in the fall, after the leaves have fallen off.
Cotoneaster transplant
This is one of the few shrubs that transfers transplantation from place to place without any problems at any time of the year. It is best to replant the cotoneaster in the fall or spring while the plant is dormant. Its roots are located quite close to the surface, so it is usually not difficult to remove the bush from the ground. It is better to move it to another place together with a lump of earth on the roots, this will significantly reduce the time for adaptation of the bush in a new place.
Conclusion
Cotoneaster rightfully takes its place among the most common shrubs used in landscape design. The number and variety of its types allows it to be used in a wide variety of places, from garden and park areas to the design of alpine slides. And undemanding care makes it a truly versatile plant, which even the most inexperienced gardener can grow.
