Content
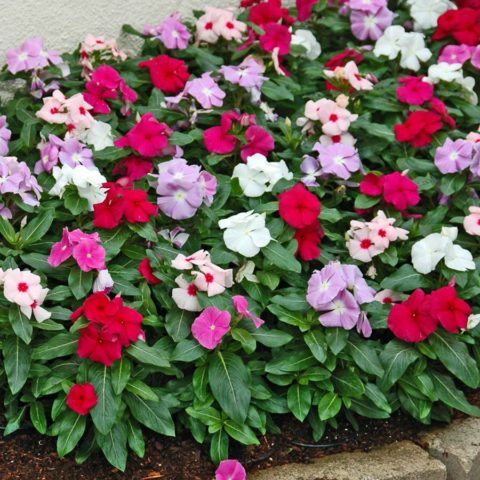
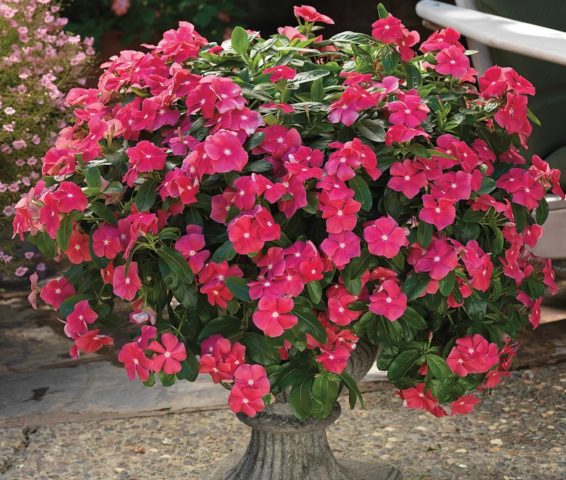
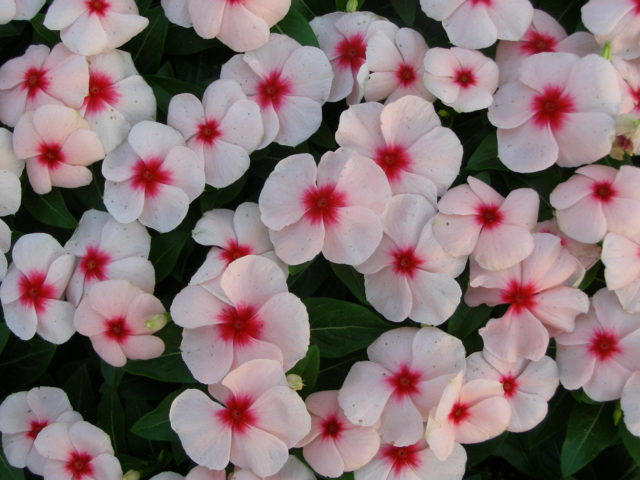
Catharanthus is an evergreen herbaceous perennial, the birthplace of which is considered to be Madagascar. This plant has been cultivated since the 18th century. In Russia, it is grown as indoor or annual. The flowering period of the catharanthus begins in May and lasts until October. With proper care, a whole cap of buds is formed, which completely hide the foliage, for which this shrub has won the recognition of flower growers. But in order to grow a catharanthus from seeds by the beginning of the season, you need to know all the intricacies of this process and strictly follow the recommendations.
In cold seasons, watering is reduced
Features of the reproduction of catharanthus by seeds
Experienced growers recommend growing catharanthus by seedlings, rather than direct planting in the ground. This is due to the fact that this crop is very vulnerable at an early stage of growth, and the likelihood of the death of young seedlings is very high. But in order for the venture to be successful, you need to understand what the planting material of this perennial looks like, and what varieties can be grown in this way.
What do catharanthus seeds look like?
Under natural conditions, after the flowering of this perennial, fruits are formed in the form of a crescent-shaped double leaf. Inside each of them, up to ten oblong-elongated seeds, approximately 3-4 mm in size, are formed. When ripe, they acquire a dark brown tint. It is impossible to collect planting material, even in the presence of an adult catharanthus bush, since in temperate climates they are not formed, but only in tropics.
You can buy high-quality planting material in specialized stores. But at the same time, you need to pay attention to the packaging, shelf life and price, since certified seeds of this perennial cannot be cheap.
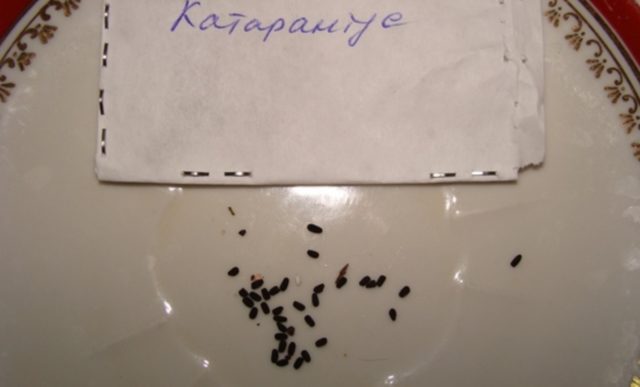
Before planting, the seeds are disinfected from the appearance of insects.
What varieties can be grown from seeds
Now there are a sufficient number of hybrid forms of the catharanthus on the market, which are distinguished by lush and long flowering. All of them can be grown from seeds, the main thing is to be patient.
The most common series:
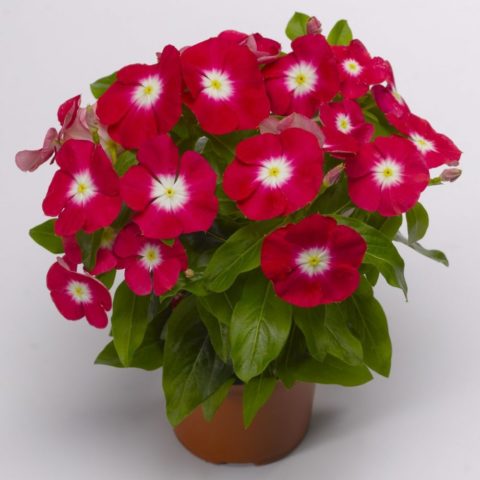
- Titanium F1. Annual, which forms shoots up to 15 cm high. It is characterized by compact bushes, early flowering, increased resistance to drought. Does not require formation, forms buds until autumn frosts. The height of the bush reaches 25-30 cm, and the width is 15-20 cm. The catharanthus "Titan F1" has a diameter of flowers up to 5 cm.
- Cora Cascade F1. Ampel type that can be grown in hanging pots. The series is presented in different shades. It is characterized by compact bushes with a height and width of 30 cm. The diameter of flowers is 3-4 cm. Catharanthus "Bark Cascade" is resistant to drought and direct sunlight.
- SunStorm F1. Early flowering compact series. Plants grow 25-30 cm high and 30 cm wide. This species easily tolerates temperature changes and is unpretentious to care for. Katarantus "SunStorm F1" is suitable for growing in high density conditions.
Sowing dates of catharanthus seeds for seedlings
In order to get already strengthened seedlings of this plant by the beginning of May, it is necessary to plant seeds in February, namely, in the first half of the month. The peculiarity of this plant is that at the initial stage, the catharanthus develops very slowly. Therefore, it is important not to miss the optimal planting period in order to be able to admire the flowers by the end of May.
Planting catharanthus seeds for seedlings
Planting a catharanthus does not require complex actions. Therefore, any novice florist is able to cope with this task. But at the same time, it is important to follow all these recommendations, since any mistake can cause failure.
Selection of containers and soil preparation
The peculiarity of the catharanthus is that it forms a long taproot. Therefore, for planting seeds, you need to choose wide containers, at least 15 cm high. Each of them must have drainage holes to remove excess water, since this perennial does not tolerate stagnant moisture in the soil.
You can buy a suitable substrate for sowing seeds in the store, choosing a soil mixture for seedlings. But in this case, in addition to it you need to add a little sand or perlite and coconut substrate.
At home, catharanthus seeds can also be sown in self-prepared soil. To do this, it is necessary to mix all the proposed components in an equal volume:
- turf;
- sand;
- peat;
- humus;
- leafy soil;
- coconut substrate.
Before planting seeds, the resulting soil mixture must be disinfected. To do this, it should be watered with a bright pink solution of potassium permanganate per day, and then dried a little.
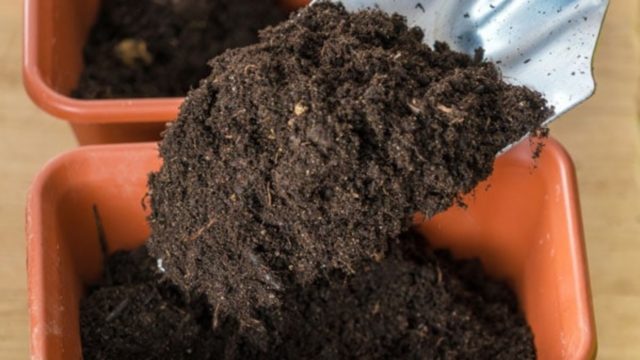
The substrate for sowing catharanthus seeds should be nutritious and loose
Seed preparation
Before sowing, the planting material must be stimulated, which activates growth processes. To do this, soak it in the working solution of "Zircon", which must be prepared at the rate of 2 ml per 1 liter of water. Soak the seeds in the resulting liquid for 10 hours, and then dry a little until characteristic flowability appears.
How to plant catharanthus seeds for seedlings
Planting of this perennial takes place according to the standard scheme. Therefore, it is very easy to follow the procedure and strictly adhere to all recommendations.
Landing algorithm:
- Place a 1 cm thick drainage layer on the bottom of the container.
- Fill the rest of the volume with the substrate, not getting enough sleep to the top.
- Water the soil, wait for the water to be absorbed.
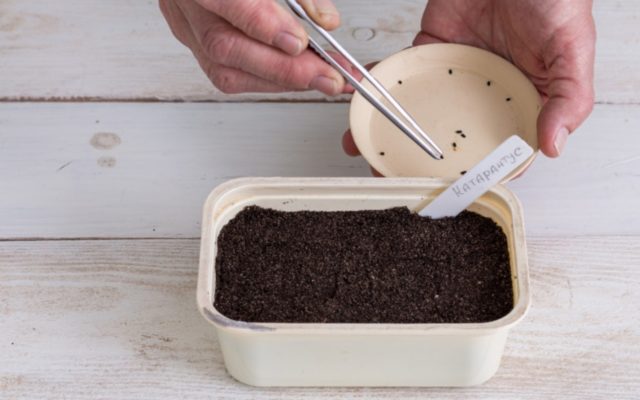
- Smooth out the top layer and carefully spread the seeds at a distance of 1.5-2.0 cm.
- Sprinkle with earth on top, with a layer of no more than 0.5 cm.
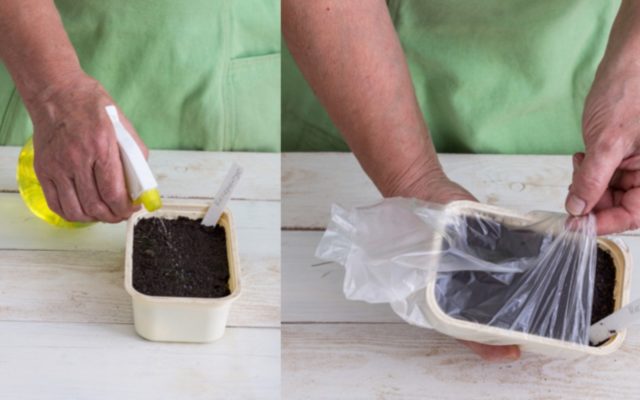
- Use a plank to compact the surface and moisten with a spray bottle.
After that, cover the container with a transparent bag and move it to a dark place where the temperature will not be lower than + 24-25 degrees.
How to grow catharanthus from seeds
In the future, everything will depend on proper care. Therefore, you need to try to provide the plant with favorable conditions for growth, in order to end up with beautiful flowering bushes of this decorative perennial.
When the catharanthus sprouts from seeds
If the whole procedure for planting seeds was followed by the rule, then the first shoots will appear on the 5-7th day. Friendly shoots of the catharanthus can be seen in a day after that.
Microclimate
When sprouts appear, the containers must be rearranged on a light windowsill and the temperature of the content must be reduced to +19 degrees. This will slow down the growth of the aerial part and activate the formation of a powerful root. The best option for a catharanthus can be east and west windows with light shading from direct sunlight.
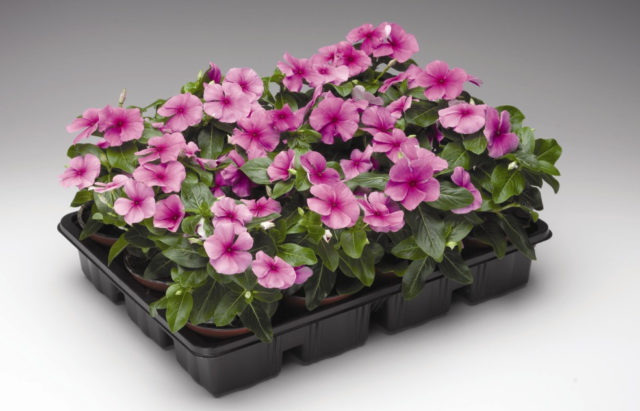
It is advisable to add coarse river sand and a little peat to the soil.
At this stage, it is important that the greenhouse effect remains inside the container in order to maintain an increased level of humidity. But in order to minimize the risks of developing a fungal disease, the film must be periodically removed and the germinated seeds must be ventilated.
After a week of this content, the temperature needs to be raised to +20 degrees and kept at this level constantly. When the seedlings get stronger and grow up well, you need to adapt them to external conditions. To do this, for the first time, remove the film for 1 hour, and with each subsequent day, increase the interval by another half hour. After a week, seedlings grown from seeds can be fully opened.
Watering and feeding
Catharanthus is a moisture-loving plant, but adult bushes need to be watered abundantly. Therefore, when growing seedlings from seeds, it is necessary to moisten the soil in containers only as needed, avoiding stagnation of moisture. This plant also responds well to foliar spraying. This should be done between waterings.
When the seedlings get stronger and grow, they need to be fed for the first time. To do this, you should use a balanced seedling fertilizer, which can be purchased at the store. In the future, feed the catharanthus every 2 weeks.
Picking
When the seedlings have 4 true sheets, it is necessary to plant them in separate containers. To do this, you should prepare containers with a diameter of 9-10 cm and a height of 15 cm. The soil for seedlings of catharanthus can be used the same as when planting seeds.
During the pick, you need to pinch 1/3 of the root of each seedling, which stimulates the growth of lateral processes. And also when planting, the catharanthus should be buried 0.5 cm into the soil.
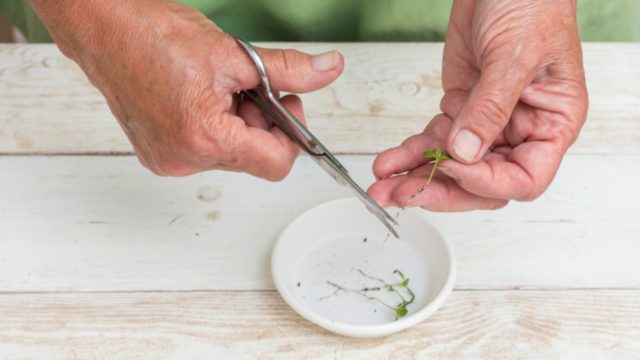
When picking, it is imperative to pinch the root.
Possible problems
When growing this perennial from seed, some difficulties may arise. Therefore, you should study the most common problems that may arise in the process, and methods for solving them.
Why there are no sprouts of catharanthus, what to do
Many growers complain that when planting catharanthus seeds, shoots often do not appear. This can happen for a number of reasons.
The most common problem can be buried seeding. In this case, nothing needs to be done, sprouts will appear, but a little later.
Also, the reason for the lack of seedlings can be shallow planting of seeds. To correct the situation, it is necessary to sprinkle them with a layer of earth and put them in a dark place with a temperature of +25 degrees.
Catharanthus seeds may not germinate when the soil dries out. In this case, the planting should be repeated and the containers should be covered with foil to create an optimal microclimate inside.
Diseases and pests
Katarantus has a high natural immunity. But if the growing conditions are not followed, this perennial is affected by such pests:
- spider mite;
- aphid;
- shield;
- felt maker.
Therefore, at the first signs of damage, the plant should be treated with Actellik, twice with a frequency of 7 days.
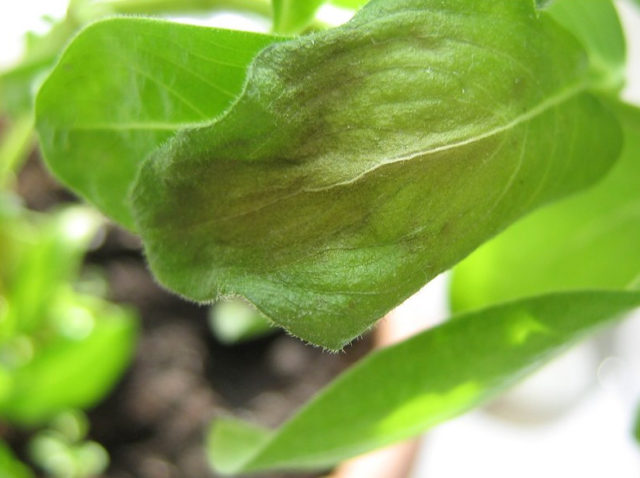
Katarantus needs to be constantly inspected in order to notice pests in time
Katarantus is not very susceptible to fungal diseases. From time to time, he may have problems with the leaves, which indicates a lack of watering, low air humidity and exposure to direct sunlight. In this case, it is enough to adjust the conditions of detention.
Transfer to the ground
Catharanthus saplings grown from seeds can be transplanted to a permanent place in a flower bed when the soil warms up to a temperature of +18 degrees to a depth of 20 cm.This usually happens in late May - early June.
A site for a perennial must be prepared in advance. It is necessary to dig it up, add humus (5 kg per 1 sq. M.), And additionally add 30 g of superphosphate and 15 g of potassium sulphide. You need to plant seedlings at a distance of 30 cm from each other.
When the seed catharanthus blooms
Saplings of this perennial, grown from seeds, bloom after 11-12 weeks. If the conditions of detention are not observed, the terms may be shifted by 1-2 weeks. Therefore, in order to get flowering bushes by the beginning of the season, all plant requirements must be strictly observed.
Conclusion
Every florist can grow a catharanthus from seeds. This process is long and painstaking, so the most patient will be able to cope with this task. But in gratitude for this, the plant will delight you with lush flowering throughout the season. The main thing is to provide him with regular watering and a sufficient amount of sunlight.
